
目次
- WSL2のUbuntu上のPHPをWIndows11のVsCodeでリモートデバッグ
- XDegugの入手とインストール方法を確認
- 手順1:Download xdebug-3.1.6.tgz
- 手順2:nstall the pre-requisites for compiling
- 手順3:Unpack the downloaded file
- 手順4:Run: cd xdebug-3.1.6
- 手順5:Run: phpize
- 手順6:Run: ./configure
- 手順7:Run: make
- 手順8:Run: cp modules/xdebug.so /usr/lib/php/20210902
- 手順9:Create /etc/php/8.1/cli/conf.d/99-xdebug.ini
- 手順10:Please also update php.ini files in adjacent directories
- VsCodeでデバッグしてみる
WSL2のUbuntu上のPHPをWIndows11のVsCodeでリモートデバッグ
WSL2のUbuntu20.04LTSにPHPをインストールしたので、VsCodeでリモートデバッグできるようにします。
XDegugの入手とインストール方法を確認
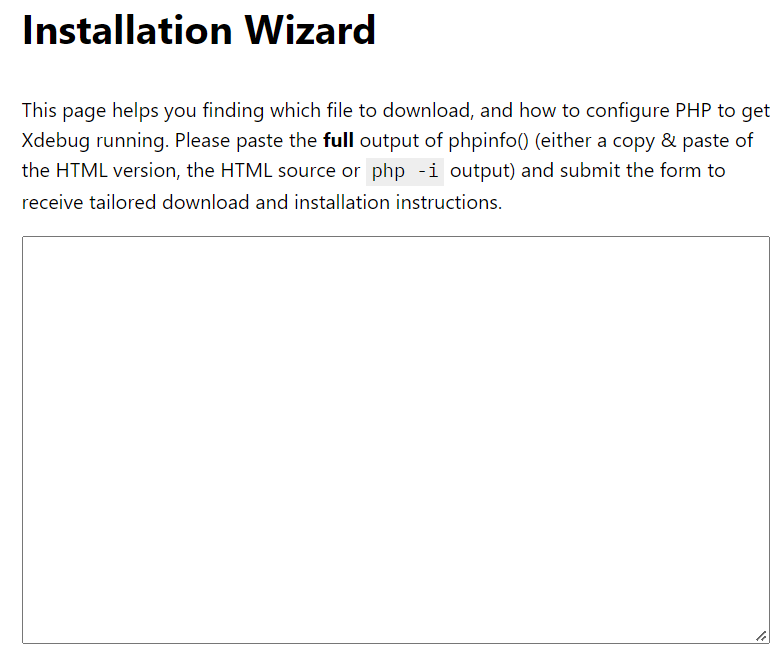
Xdebugの入手とインストール方法の確認は以下のサイトで行います。
開くと、以下のような画面になります。
WindowsターミナルでUbuntuシェルを開き、以下を実行して、WindowsのクリップボードにPHPの設定情報をコピーします。
WSL2でのみ使える荒業ですが(笑)
php -info | clip.exe
その情報を貼り付けて「analyse my phpinfo() output」ボタンを押します。

すると、入手およびインストール情報を記載した情報が表示されます。
僕がやった時の記載を引用します。
------------------------------------------------------------------------------
Instructions
- Download xdebug-3.1.6.tgz
- Install the pre-requisites for compiling PHP extensions. These packages are often called 'php-dev', or 'php-devel', 'automake' and 'autoconf'.
- Unpack the downloaded file with tar -xvzf xdebug-3.1.6.tgz
- Run: cd xdebug-3.1.6
- Run: phpize (See the FAQ if you don't have phpize).
As part of its output it should show:
Configuring for:
...
Zend Module Api No: 20210902
Zend Extension Api No: 420210902
If it does not, you are using the wrong phpize. Please follow this FAQ entry and skip the next step. - Run: ./configure
- Run: make
- Run: cp modules/xdebug.so /usr/lib/php/20210902
- Create /etc/php/8.1/cli/conf.d/99-xdebug.ini and add the line:
zend_extension = xdebug - Please also update php.ini files in adjacent directories, as your system seems to be configured with a separate php.ini file for the web server and command line.
-------------------------------------------------------------------
これに従ってやっていきます。
手順1:Download xdebug-3.1.6.tgz
home、もしくは、ワーク用ディレクトリに移動してダウンロードします。
手順2:nstall the pre-requisites for compiling
PHP 拡張機能をコンパイルするので、依存ライブラリをインストールします。
sudo apt install php-dev
インストール時のメッセージを見ると「automake」と「'autoconf」も、php-devの依存パッケージとして、一緒にはいっていたので、これだけでよさげです。
手順3:Unpack the downloaded file
ダウンロードしたファイルを解凍します。
コマンドはメッセージに書いてあるとおりです。
tar -xvzf xdebug-3.1.6.tgz
すると、作業フォルダに「xdebug-3.1.6」というフォルダができます。
手順4:Run: cd xdebug-3.1.6
これは文字通り、できた「xdebug-3.1.6」ディレクトリに移動しろということです。
cd xdebug-3.1.6
手順5:Run: phpize
phpize を実行します。
phpize はPHP拡張モジュールをコンパイラするツールです。
実行すると、こんな感じの結果が表示されました。

手順6:Run: ./configure
以下を実行します。
./configure
手順7:Run: make
以下を実行します。
make
これで拡張モジュールの実行ファイルが作成されます。
手順8:Run: cp modules/xdebug.so /usr/lib/php/20210902
できた「xdebug.so」ファイルを/usr/lib以下にコピーします。
パーミッションがあるので「sudo」が必要です。
手順9:Create /etc/php/8.1/cli/conf.d/99-xdebug.ini
設定ファイル「/etc/php/8.1/cli/conf.d/99-xdebug.ini」を作ります。
僕は「sudo vim」でNewファイルを開きました。
中に
zend_extension = xdebug
と1行を追加して、以下のコマンドで保存しました。
手順10:Please also update php.ini files in adjacent directories
PHP.iniファイルも変更するようにと書いてあります。
付け加える内容は以下です。
zend_extension = /usr/lib/php/20210902/xdebug.so
xdebug.remote_enable = 1
xdebug.remote_connect_back = 1
xdebug.remote_autostart = 1
php.iniは僕の環境だと「/etc/php/8.1/fpm」ディレクトリにありました。

これを編集して、上記を追加して保存します。
僕はvimで以下のようにしました。
これでUbuntu側の設定は完了です。
VsCodeでデバッグしてみる
Windows11のVsCode(Visual Studio Code)にPHPDebugがインストールされていないときは、先にインストールしておきます。
検索で複数の「PHP Debug」がでてきますが、「install in WSL:Ubuntu」と記載されているものを選んでインストールします。

インストール後、「code .」でWSL2:Ubuntu上の適当なPHPソースを開いて、「start debugging」したら。

ちゃんと、ブレークポイントで止まってます。
OKです。
ではでは。